Although car detailing for me falls under the category of “do what you do best and hire the rest,” for some of us, particularly those who have very personal relationships with their cars or who care meticulously for them out of frugality or compulsion, learning how to detail your car is not only a way to save money, but also a way to maintain the quality and salability of your automobile. How do you do it well? Well, it’s all in the details!
Do–it-yourself car detailing can be achieved at many levels. You don’t need to have fancy equipment and products for a thorough interior-exterior wash. But, just like hair care, you get what you pay for, so if you want five-star service, you need to invest in five-star tools and materials.
First, the rules of thumb. Always start at the top and clean towards the bottom. If you vacuum the carpet first and then dust, the dust will fall onto your newly cleaned carpet and you will have to do it all over again. The same goes for going from the exterior to the interior. Start outside. Work your way inside. That way if anything leaks in or if while you are cleaning the doors you get debris floating inside, you haven’t put yourself in the position of having to clean the inside twice.
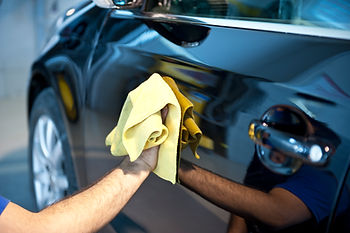
Because cars are made of multiple different materials—iron, aluminum, paint, leather, plastic, vinyl, cloth, you name it—and because each of these materials need different types of substrates, use different towels for each substrate and each area. (This same rule really applies to all cleaning, even cleaning your home. You don’t want, say, to use the same towel for wood polish that you do for window washing. This is pretty much a no-brainer.) Also use different towels to wash and dry, and make sure you use specially made microfiber towels for car cleaning that have a higher percentage of polyester than polyamide. More polyamide means more absorbent which means you will need way more towels as they will more easily become sopping wet. Another important towel pointer: when wiping off substances, don’t use circular motions. This merely pushes the product, whether it be soap, polish, or wax, around. Wipe from left to right and fold the towel with each pass so as not to recontaminate an already wiped area.
Also, always allow plenty of time to detail your car so that you can finish in one setting, and start early in the day to avoid having to detail directly in the hot sun which will bake your products and dry your water more quickly, making the process more difficult to control.
The Exterior Wash
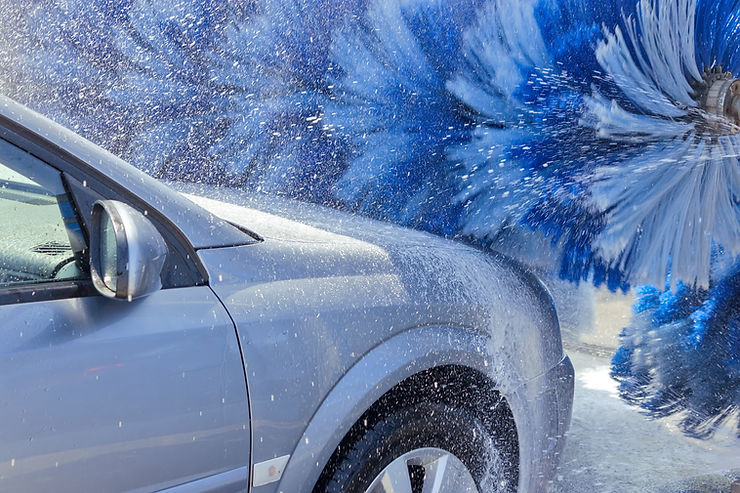
Wash the wheel, tires, and tire well first, rinsing out the undersides to remove dirt and brake dust (which is made of ceramic and iron bits and can cause chips and specks in your paint job). Rinse the car completely from top to bottom before even adding car shampoo. A full rinse gets rid of dirt so that you don’t grind it into the paint job. Deionized water allows the car to stay wet longer if you need to work certain areas or if it’s hot outside.
Use special car shampoo to foam the car’s exterior. Dishwashing soap and other kinds of cleaners are too abrasive for the car’s exterior. Using the two-bucket system, first hand wash with soap, using a bucket with a grit guard to separate the water out from the dirt. Either power wash or hand rinse the soap off, once again aiming for all the crevasses under the wheels and between the tires. Then dry with a microfiber towel.
You can then open the hood, trunk, doors, and gas tank, and work your way around the hinges, first cleaning them with WD-40 to remove any rust, then lubricating them with white lithium grease or motor oil. You can also lubricate the weather stripping around the door with a silicone spray.
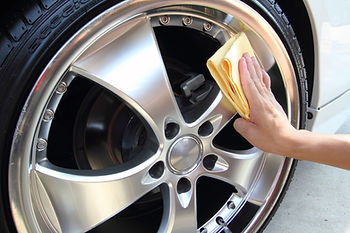
Polish the paint finish to buff out scratches and then wax to add a layer of protection and gloss. The decontamination process involves using a clay bar or mitt to remove surface contaminates. Use a machine polisher or elbow grease to buff out scratches and imperfections, and then polish the tire rims. Wipe the polish off with microfiber towels using the method described above, then apply wax. If your windshield wipers need to be replaced, snap on a new pair.
The Interior Detail
Cleaning the interior of the car involves three steps: dusting and wiping upholstery, vacuuming, and windows. You want a vacuum with an arsenal of attachments, microfiber towels, a leather cleaning kit for leather upholstery, Simple Green for vinyl and plastic, glass cleaner, and, for really high-level cleaning, a professional carpet cleaning machine.
A small, cheap paintbrush is essential to brushing out the air vents. If coupled with a vacuum cleaner, you can brush the dust out of the air vents directly into the vacuum instead of onto the floor. To attack the nooks and crannies in the console and doors, wrap a microfiber cloth soaked with simple green around a screwdriver or other narrow tool and drive it along the edges and creases to clear out gunk and debris. Use the leather cleaning kit on leather upholstery, particularly to remove any stains from lipstick, dyes, or inks immediately as these will sink in and become permanent within 24 hours.
Slide the seats forward or lift them up to vacuum and clean underneath and follow the vacuum cleaner with the professional carpet cleaning machine if you have one for a deep clean.
Lastly, open all the doors and attack the interior and exterior of all the windows, making sure not to forget passing the cloth over the top and side edges. To prevent streaking, read our previous blog post Streaky Clean.
PopUP CleanUP is your go-to resource for all things cleaning. We specialize in event and commercial cleaning in the Greater Los Angeles area.
